Master the Paint Brush Tool: Selective Photo Edits Made Easy
There is something special about adding your own creative flair to a project. Whether it is a photo you are editing for fun or a graphic you are designing for work, having the ability to put your personal stamp on it can elevate the final result in a meaningful way. That is where BeFunky’s Paint Brush tool comes in.
Located under the Touch Up tab, this tool gives you the freedom to quite literally paint directly onto your images. It is an artistic and intuitive way to bring your ideas to life, whether you are creating something abstract or enhancing specific elements in a portrait photo. Whether you are an experienced designer or just dipping your toes into digital creativity, this tool offers a simple and effective way to express yourself.
How to Use Your Digital Paint Brush
This painting feature is designed to be accessible to users of all experience levels. It functions like a real paintbrush, allowing you to layer color directly over your photo. You can adjust several settings to control how the brush behaves, which means you can create anything from delicate details to bold, expressive strokes.
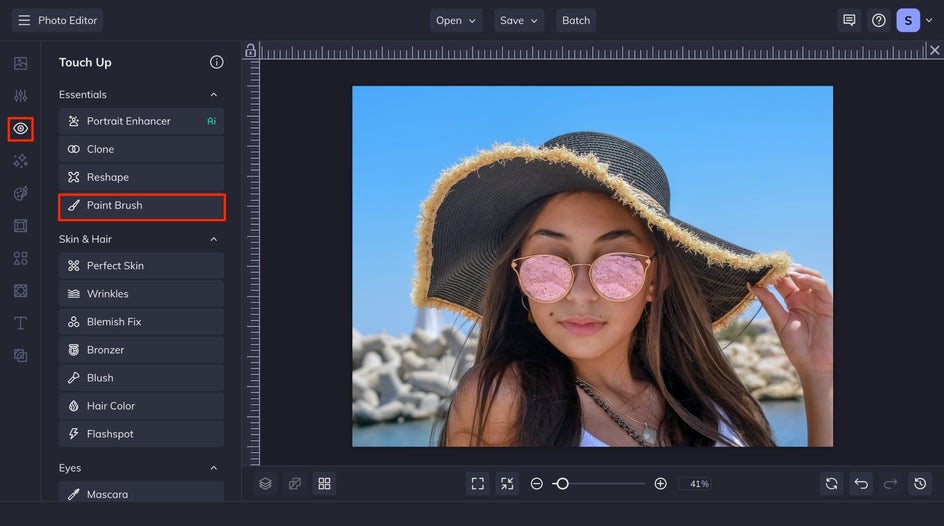
Step 1: Navigate to the Paint Brush Tool
Starting in the Touch Up tab, navigate to Paint Brush from the Essentials menu. Where you can upload a photo. You can do this by selecting a file from your computer, dragging and dropping your image into the canvas. Once your photo is loaded, the tool’s customization options will open up.
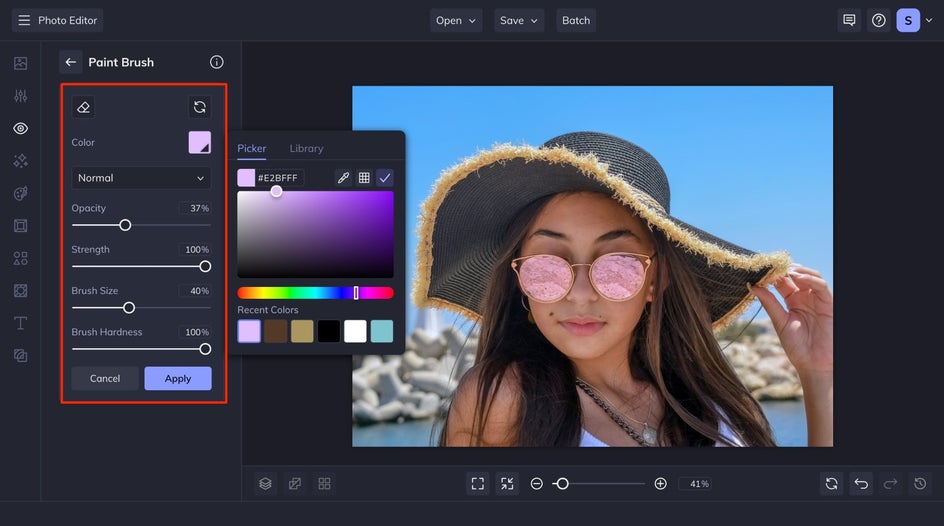
Step 2: Customize Your Brush Settings
This is where you can tailor your paint brush to fit the look and feel you are going for. This digital brush gives you the ability to change the final effect of each stroke with the following options:
- Color: Choose the color you want to paint with. Clicking the color swatch opens the color picker, where you can select from a wide range of hues or input a specific color code if you are trying to match a brand or design palette.
- Blend Mode: Blend modes determine how the painted color interacts with the image beneath it. This can make the brush strokes appear more natural or create artistic effects, depending on your selection. Experimenting with different blend modes can lead to some interesting and unexpected results.
- Opacity: Adjusting the opacity changes how transparent or solid the brush stroke appears. Lowering the opacity makes the paint more see-through, which can be useful for subtle enhancements or layering effects.
- Brush Size: This slider controls how large or small your brush is. A larger brush is useful for broad strokes or background fills, while a smaller brush is better for adding details or outlining.
- Brush Hardness: The hardness setting affects the edges of your brush stroke. A harder brush will create a defined line, while a softer brush will have feathered, blended edges. This setting is particularly helpful when you are trying to create a natural look or apply highlights in a soft, gradual way.
Step 3: Paint and Apply
Now that your brush is customized, you can begin painting directly on your photo. Use your mouse or trackpad to apply color to any area of the image. You are not limited to one color or effect – feel free to change your brush settings as you go to get the look you are after. If you make a mistake or want to remove part of your painting, use the Select mode. This allows you to erase specific areas of your brushwork without having to start over.
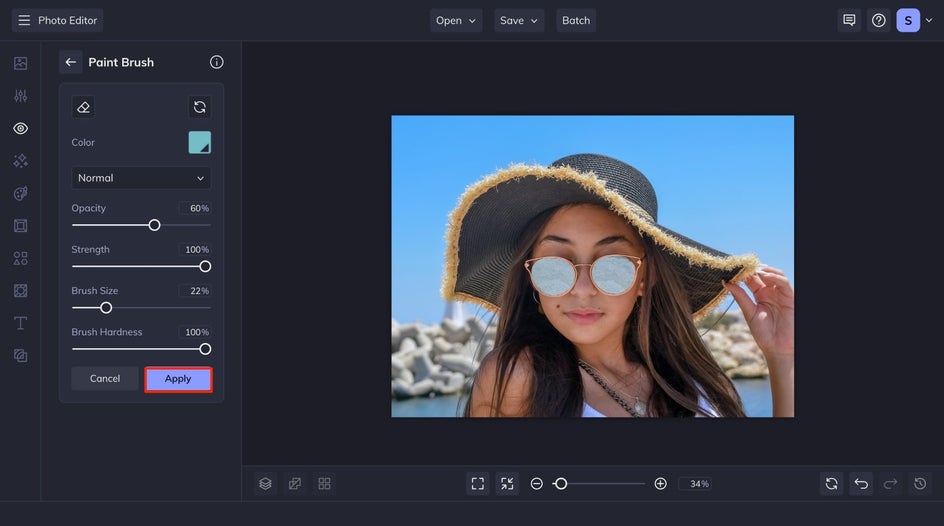
When you are satisfied with your brushwork, click the Apply button. This locks in your edits and allows you to continue adding new elements or move on to the next stage of your project.
Pro Tip: If you want to draw a straight line, hold the Shift key on your keyboard. Click once where you want the line to begin, then hold Shift and click again where you want it to end.
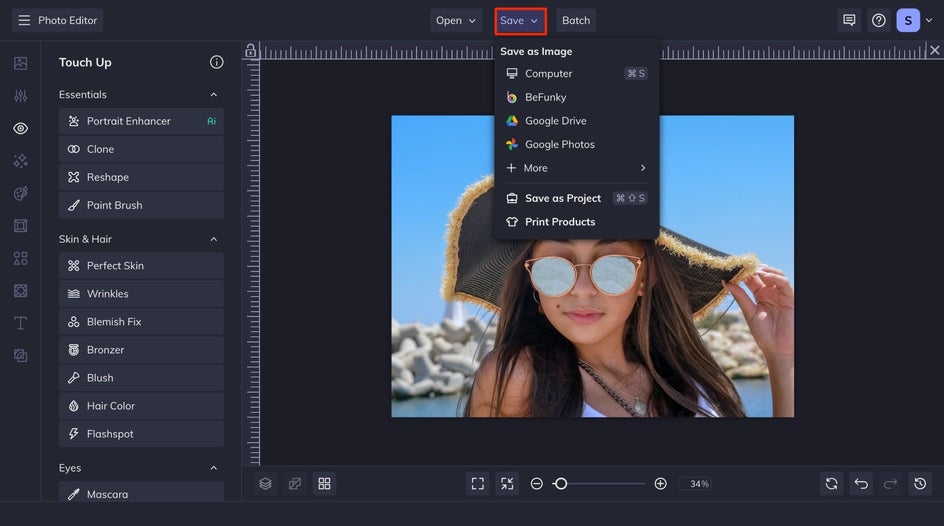
Step 4: Save Your Photo
Click the Save button at the top of your canvas. From here, you can choose from several file formats and quality settings, depending on how you plan to use the final image. Whether you are printing, posting online, or using the design in a presentation, BeFunky makes it easy to export your creation in the format that suits your needs.
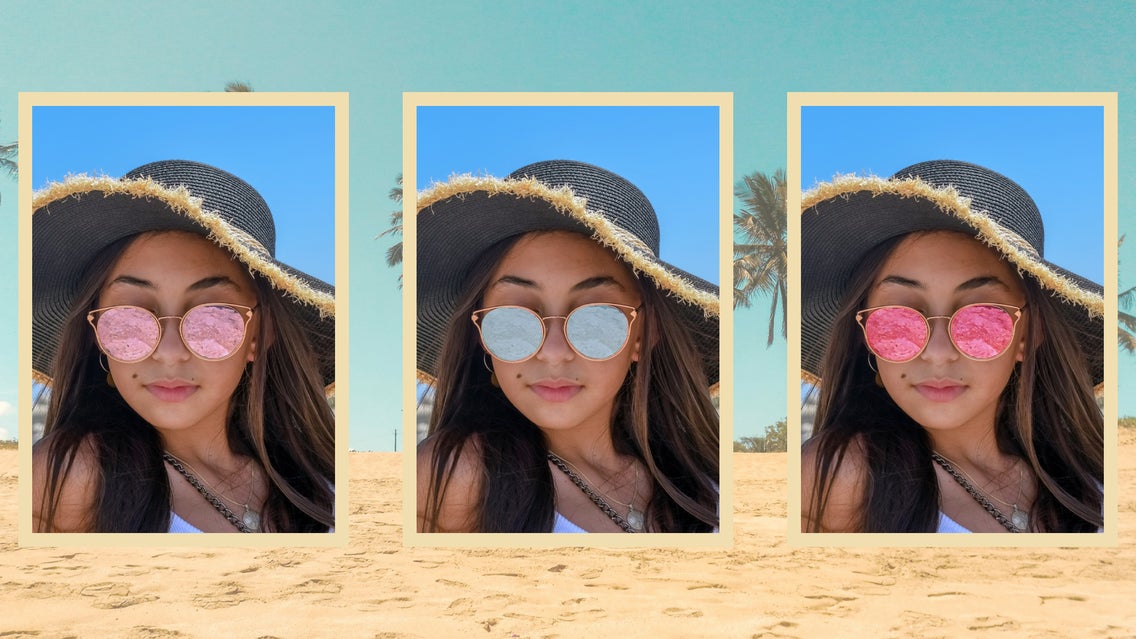
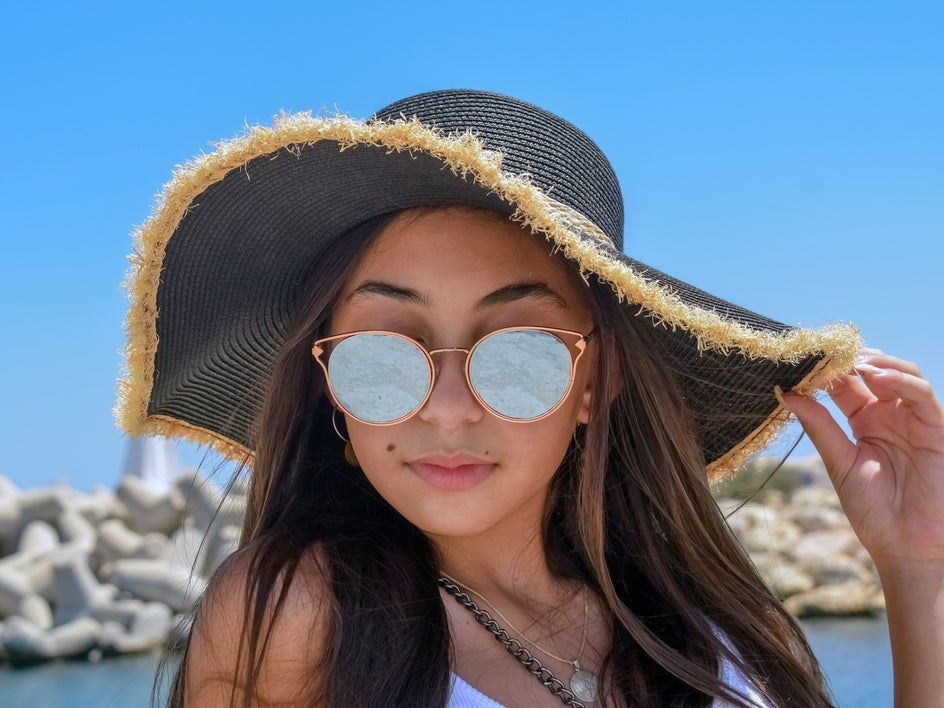
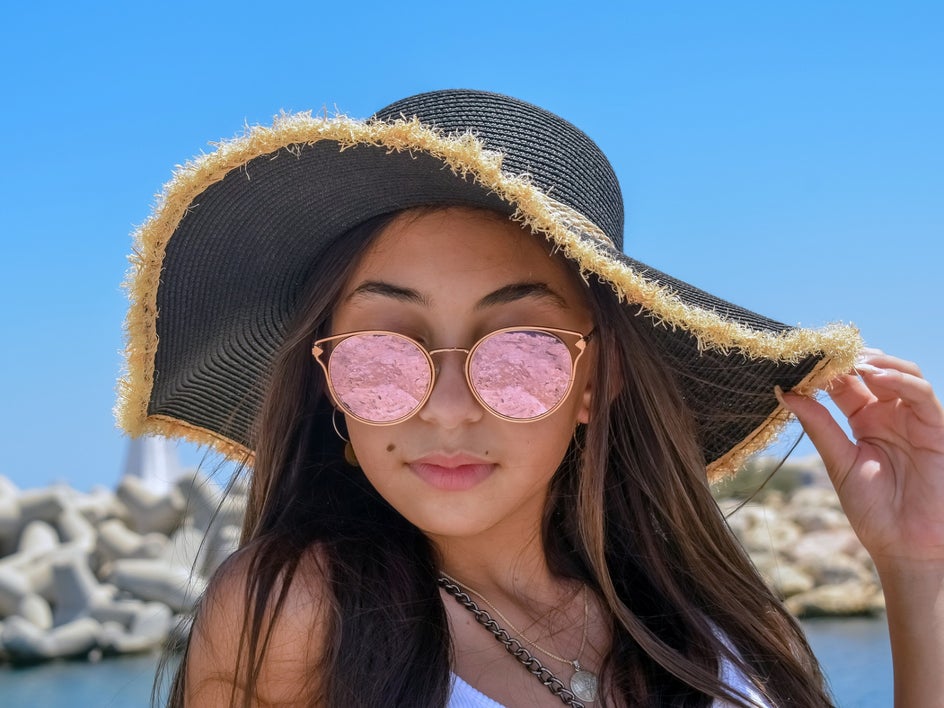
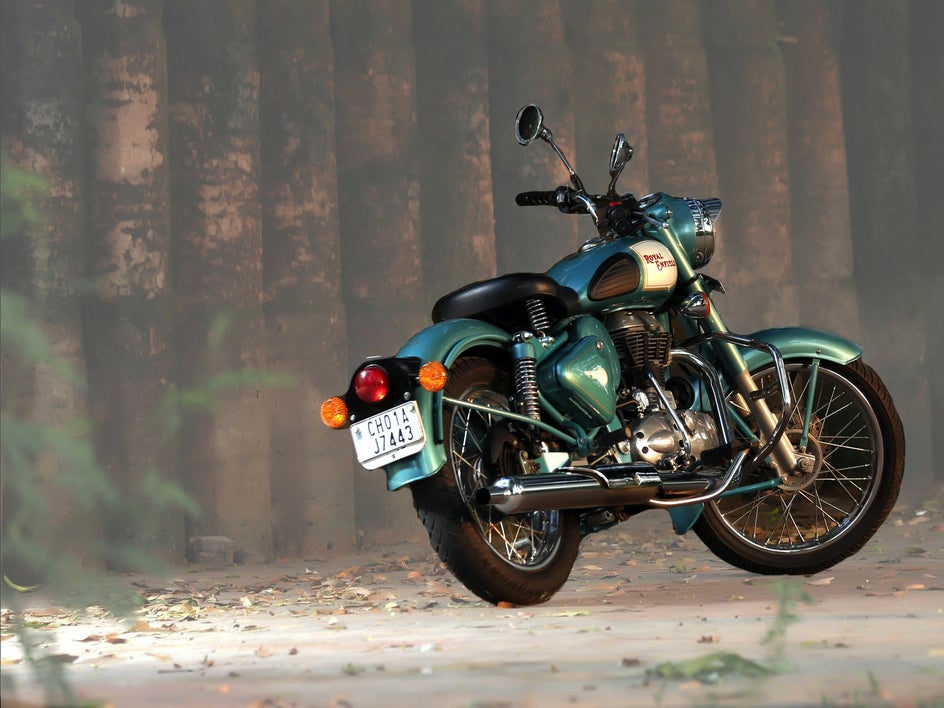
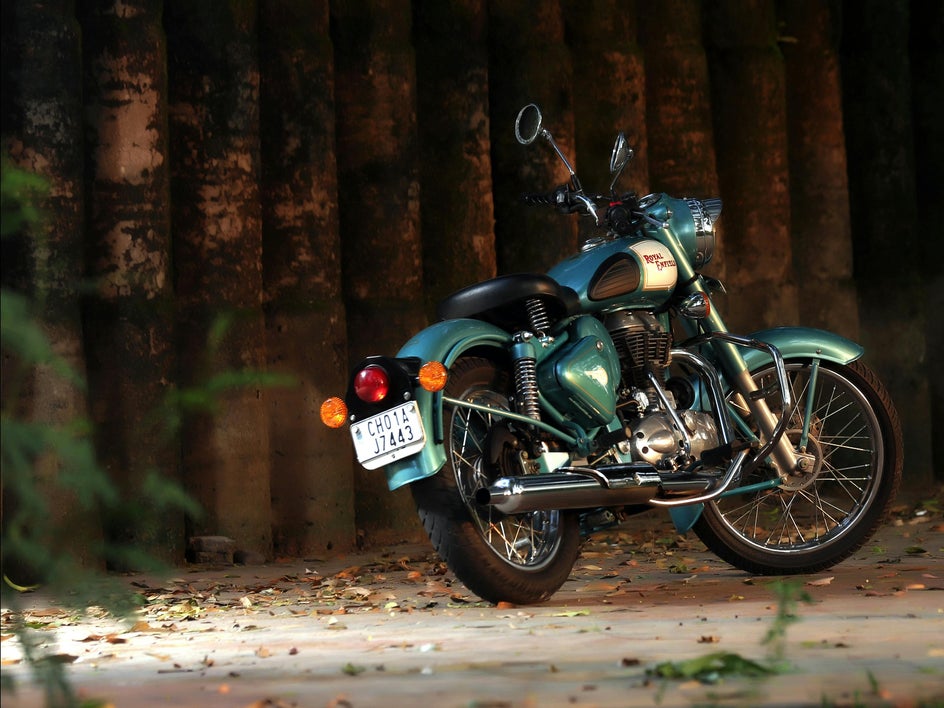
Painting a Better Match: Before and After
The Paint Brush tool makes it simple to transform any photo with just a few strokes. In this example, we changed the color of our subject’s sunglasses to better complement the surrounding blue tones – a small edit that makes a big visual impact.
More Creative Ways to Use the Digital Paint Brush Tool
Once you have the basic technique down, the Paint Brush tool opens the door to a variety of creative applications. Here are three ways to make the most of this tool in your design work or personal projects.
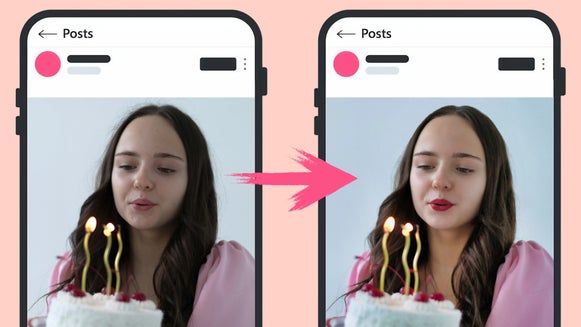
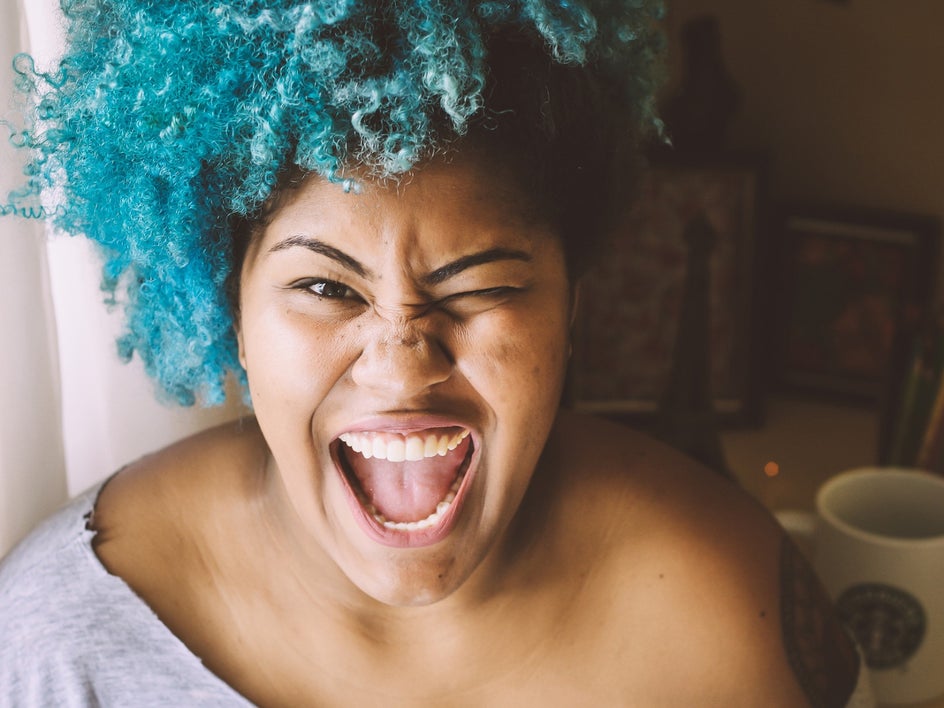
Enhance Eyes for Extra Impact
This tool can be a subtle yet effective way to make eyes stand out in your portrait photography. With a small, soft-edged brush, you can lightly paint over the irises using a color similar to the natural eye shade. This brings out dimension and intensity without over-editing.
You can also add a touch of white or light gray near the bottom center of the eyes to simulate natural light reflection. Adjust the opacity to keep things looking realistic. These small touches can bring portraits to life and are especially useful for profile pictures, senior portraits, or stylized photo edits where the subject’s expression is key.


Tint Backgrounds Without Replacing Them
If your background feels a bit dull or too dark, the tool lets you subtly tint without having to do a full background swap. Select a color and use a large, low-opacity brush to gently paint around your subject.
This method creates a soft glow effect that can add light and contrast to your overall composition, helping your subject pop. It’s a simple solution for flat photos and works beautifully for everything from lifestyle shots to product photography.
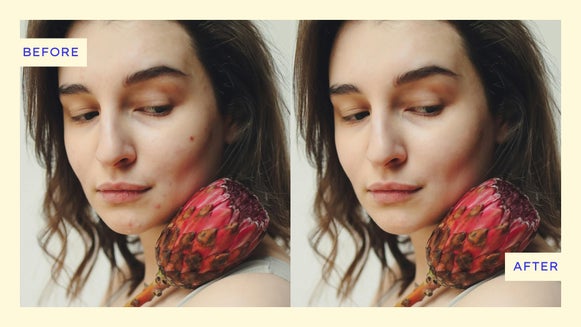
Whiten Teeth for a Polished Finish
One of the most practical ways to use the tool is to subtly whiten teeth in portrait photography. Choose a soft white or very light yellow shade, reduce the opacity, and gently brush over the teeth. This helps lift any discoloration and gives the smile a cleaner, more polished appearance.

To keep things natural, avoid pure white and stick with off-white tones that match realistic lighting. You can also experiment with blend modes like Soft Light or Overlay to enhance the effect without making it too obvious. This is a simple trick that works well for headshots, family portraits, or any photo where a confident smile is front and center.
Unleash Your Creativity With the Paint Brush Tool
This digital brush is one of the most versatile features of BeFunky’s Photo Editor. It allows you to take creative control of your projects by letting you paint directly onto your photos in any way you choose.
From drawing borders to creating custom highlights and layering abstract designs, it supports a wide range of creative goals. It is simple enough for beginners to pick up right away, but it also offers enough depth for more advanced users to experiment with professional-level techniques. Start creating with your digital paint brush now!